In this EVE-NG VMware installation post, we will focus on one of the popular network emulators, EVE-NG. We will learn what is EVE-NG, why we use it and how to install EVE-NG. We will start with EVE-NG Download and then we will go through EVE-NG installation. Here, we will download and install VMware Workstation. On VMware Workstation, we will create a virtual device and we will install EVE-NG on it. Here we will use an old version of EVE-NG for free personal use, but you can use the new version, EVE Community Edition Version 6.2.0-4.
You can use EVE-NG for your Cisco CCNA, CCNP and CCIE Certification Studies.
You can also check VMware Download and VMware Installation guide.
Table of Contents
What is EVE-NG?
EVE-NG is one of the popular network emulators used for network configuration labs. It is popular because, with EVE-NG, you can use the real images of different vendor’s network devices. You can use Cisco routers, Cisco switches, Juniper routers, Huawei switches, Nokia routers, Palo Alo devices etc. By using real device images, it is like you are configuring real network devices and you gain hands on experience on real network equipment.
So, how to use EVE-NG on our PC? How to install EVE-NG on VMware Workstation Player 16? EVE-NG Download and EVE-NG installation is very easy. Here, we will do this step by step and after this post, you will able to use this amazing emulator program on your own PC. Before EVE-NG download, let’s start with VMware Workstation download and installation.
What is the latest version of EVE-NG?
At 2026, for free personal use, EVE Community Edition Version 6.2.0-4 is the latest version of EVE-NG. For professional use, EVE-NG Professional/Learning Center Version 6.2.0-20 is the latest EVE-NG version. The latest update of these versions was at 25 November 2024.
VMware Workstation Download and Installation
To use EVE-NG on our PC, we need a virtualization platform. VMware is one of the virtualization platforms with which we can run EVE-NG and use it on our PC. So, before EVE-NG download and installation, we should download and install VMware Workstation Player. I have explained VMware Workstation Player Download and Installation detailly in another article. You can check it there. But as a summary, here, I will also give you a brief about it.
First of all, we need to download VMWare Workstation Player 16. To do this, we will visit www.vmware.com/products/workstation-player.html address. You can download VMware installation file here according to your operating system. I have used windows installation file here.
After downloading this file, now we will install VMware to our PC. It is very easy to install this program, you will only click next generally. This is a basic program installation which do not need any specific configuration.
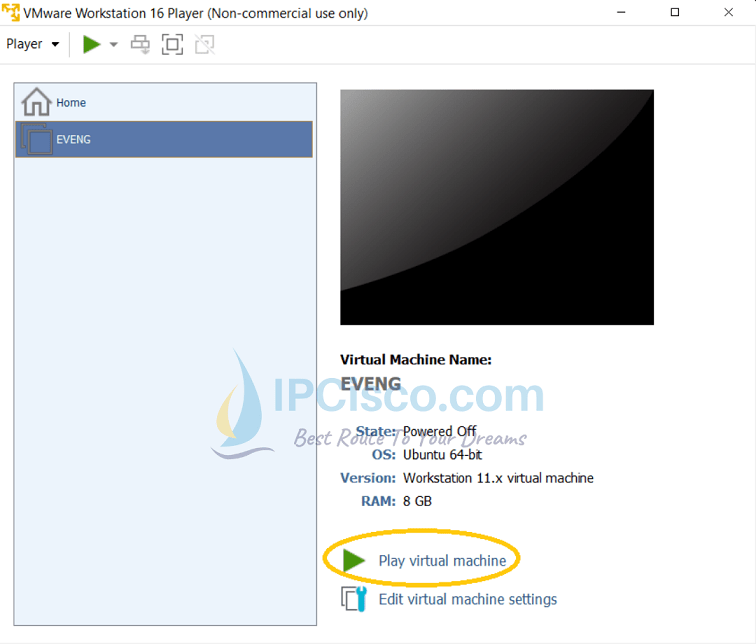
After the installation, when you open VMware Workstation Player 16, you will see this virtualizaton platform like below:
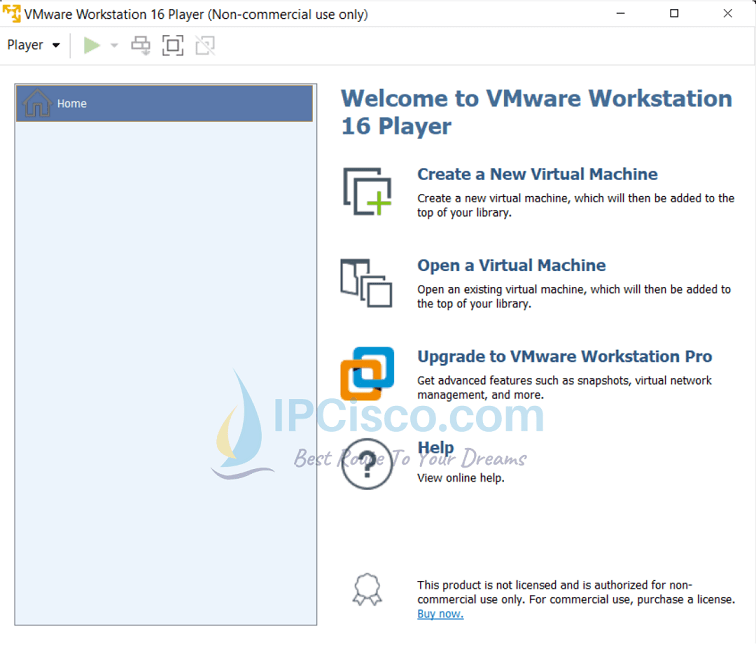
As you can see, there is no virtual device yet. We will create one virtual machine and install EVE-NG there.
EVE-NG Download 2026
To download EVE-NG, we will visit EVE-NG Download page here. In this EVE-NG download page, there are different alternatives. These are:
- EVE-NG Professional/Learning Center
- Free EVE Community Edition
Here, we will use free community version, Free EVE Community Edition. Other professional one, EVE-NG Professional/Learning Center needs a license.
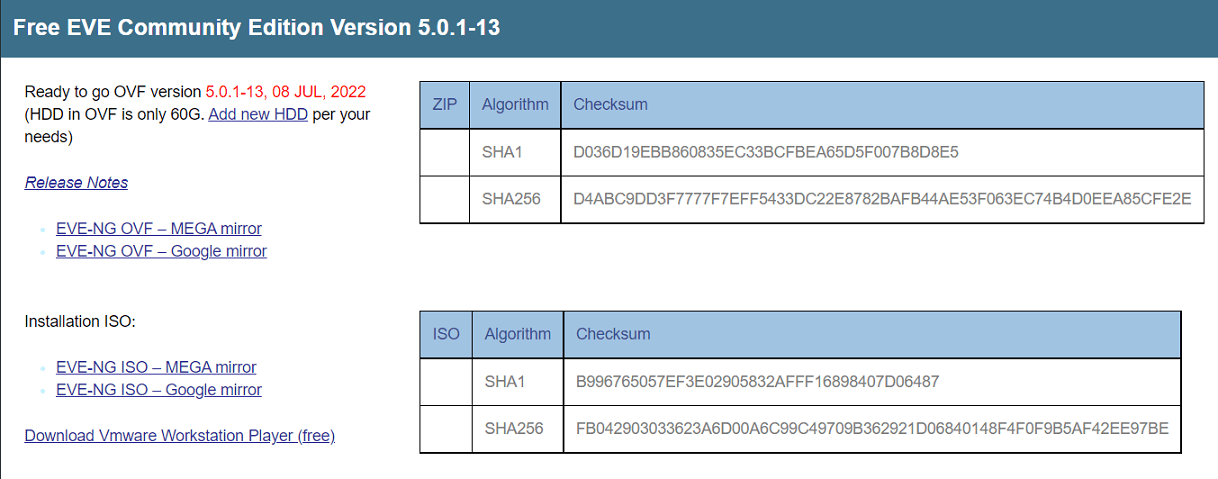
There are also different alternatives under Free EVE Community Edition. We will select OVF files instead of ISO files. Because, OVF files are prepared for virtualization and we do not need to do detailed configuration. You can select one of the OVF file mirrors. I will use Google mirror here.
Here, we will are explaining EVE Community Edition Version 5.0.1-13 but you can download the latest version, EVE Community Edition Version 6.2.0-4.
After downloading EVE-NG installation file, we are ready for EVE-NG Installation.
EVE-NG Installation 2026
We have downloaded EVE-NG. Now it is time to install EVE-NG on VMWare Workstation Player. To install EVE-NG to VMware Workstation, we will open VMware workstation.
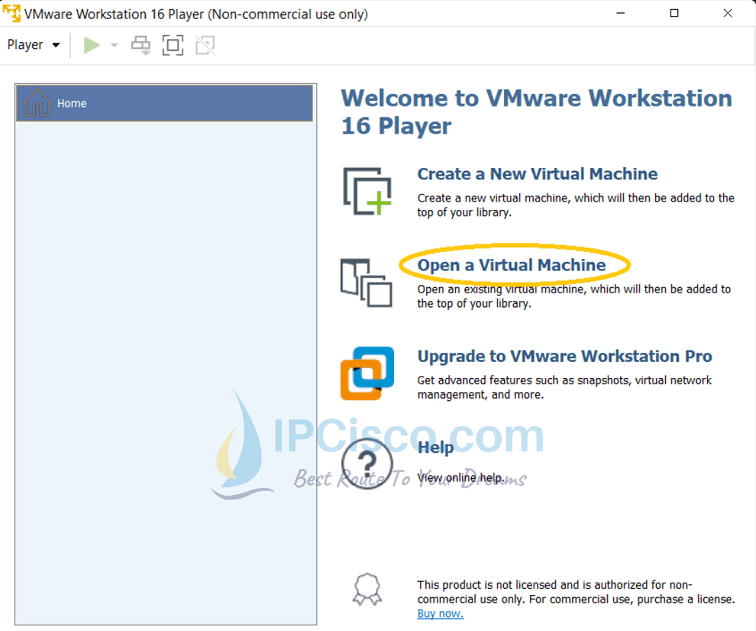
On VMware workstation, firstly, we will open a new virtual machine for EVE-NG Installation.
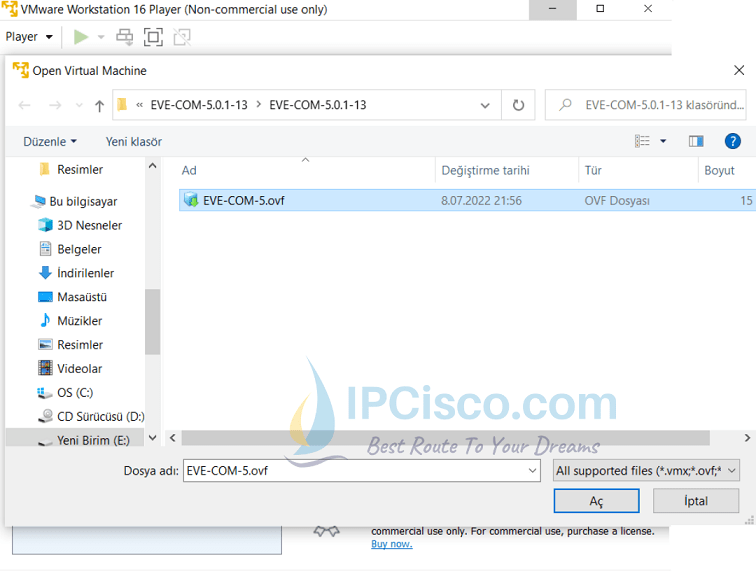
When we click open a new virtual machine link, VMWare will want a file from us. This will be the ovf file which resides in the downloaded folder. We will select this file.
After selecting the installation ovf file, we will set the name of our virtual machine. Here, we will write EVE-NG as the name for this virtual machine. We will also select the path of the storage place of this new virtual machine.
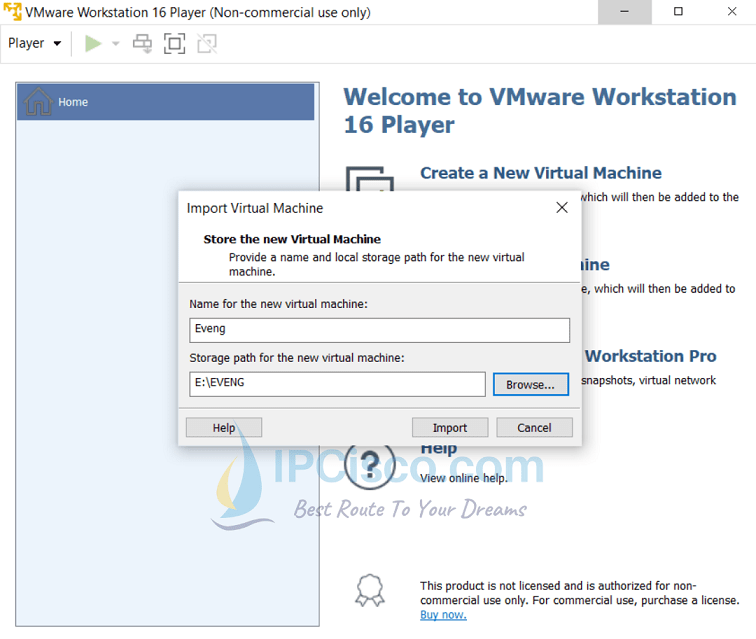
Then we will click import button to import EVE-NG to VMWare Workstation Player.
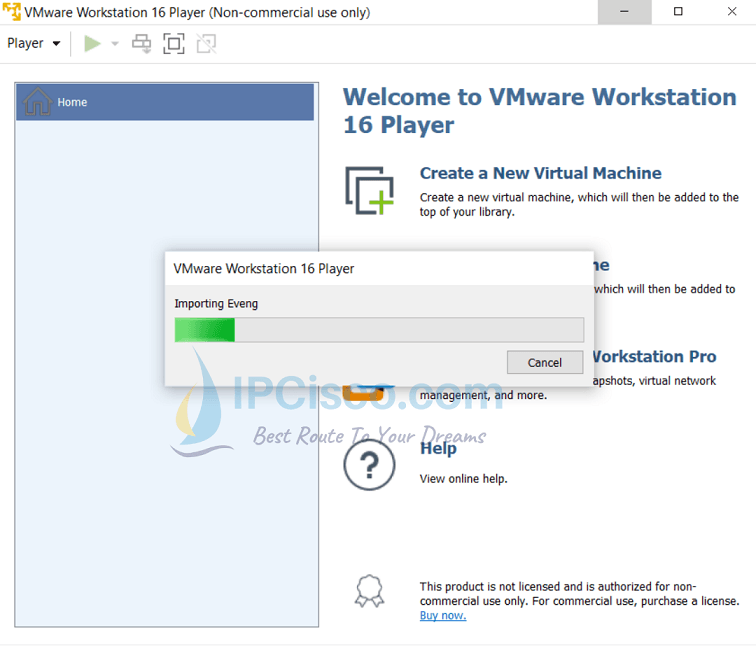
After this process, EVE-NG will be imported as you can see in the below screenshot.
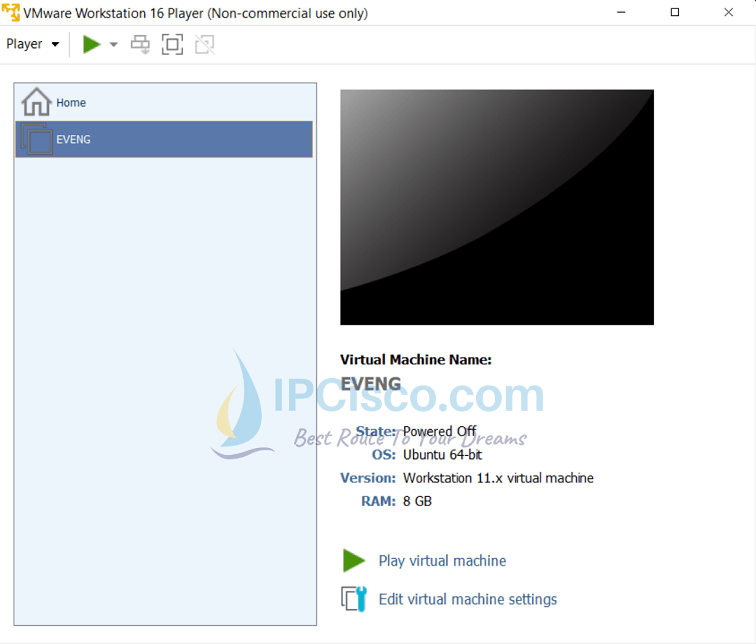
To continue EVE-NG installation, we will click Play virtual machine link.
After clicking Play virtual machine link, EVE-NG window will be open and we will continue this installation on different window.
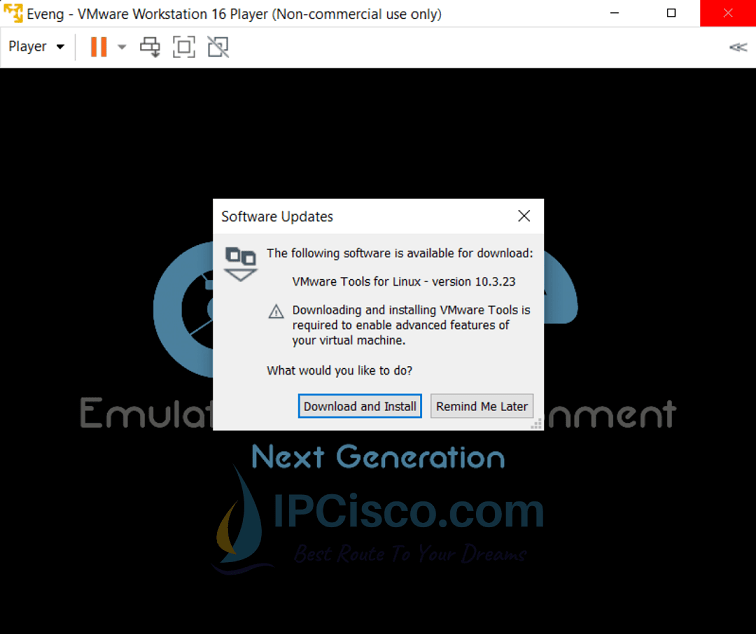
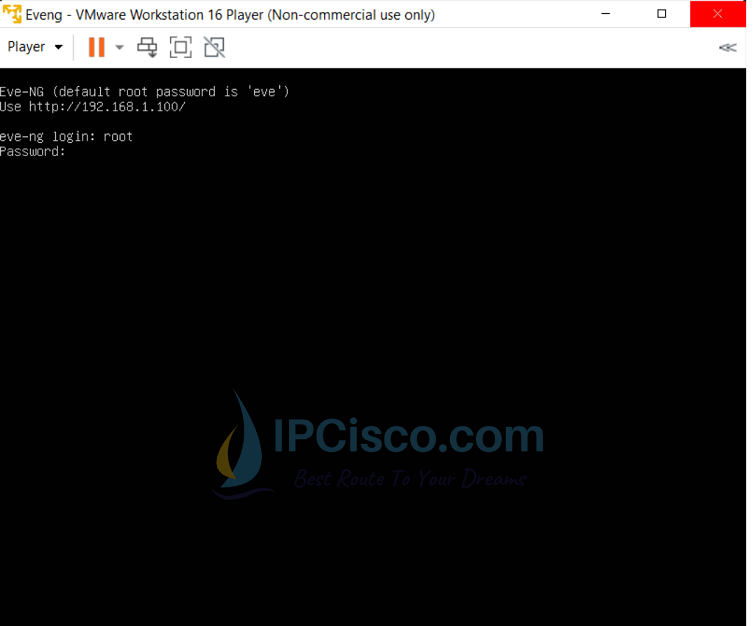
On the screen, we will say Remind Me Later this time and we will ignore this software update. After that, we will login to the system with the below credentials:
Username: root
Password: eve
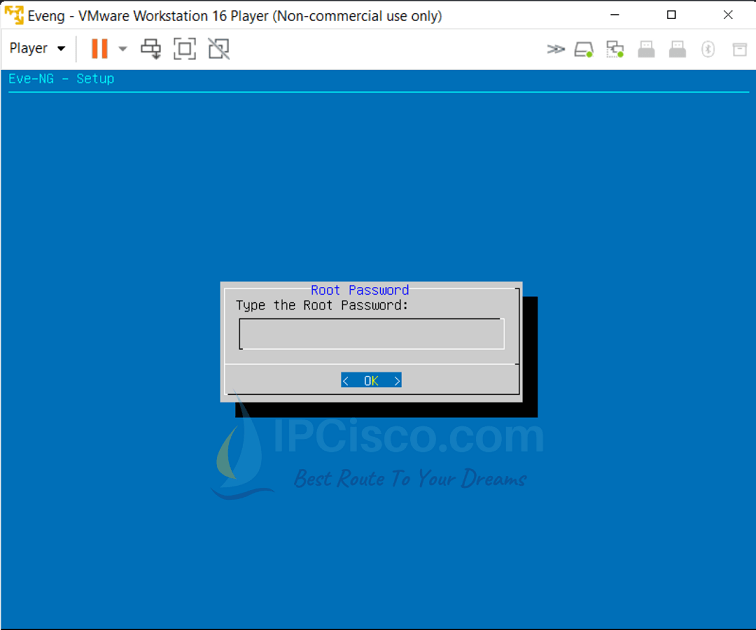
A blue screen will be opened and here, we will also use the same password eve again two times.
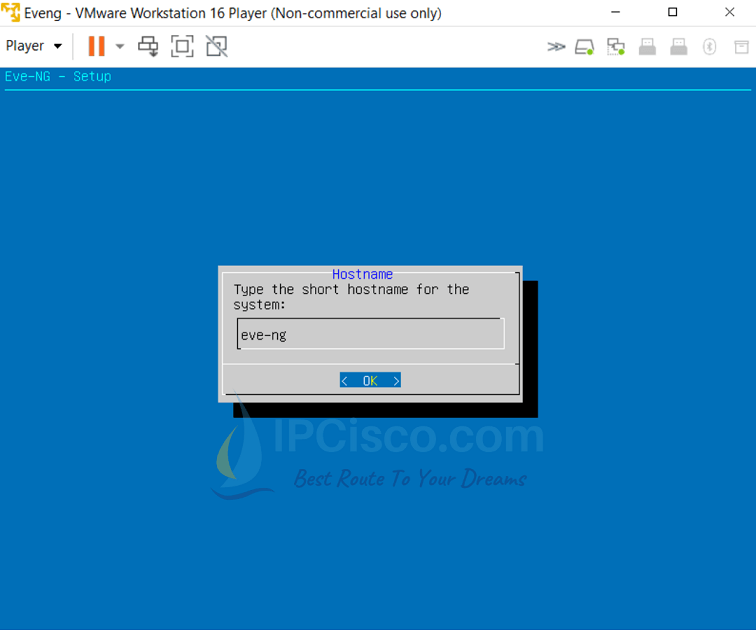
Then, we will set system hostname. Here, I will use eve-ng as hostname.
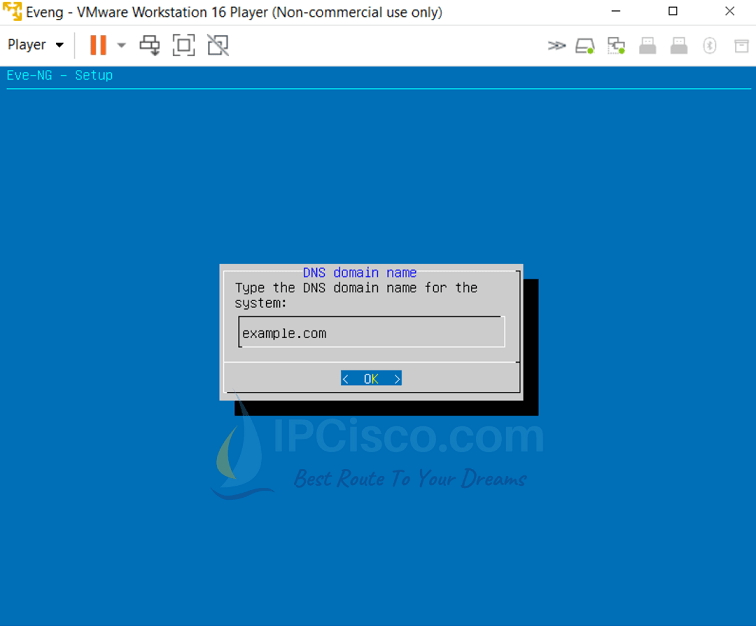
Next, we will set the domain name for the system. You can use the same one.
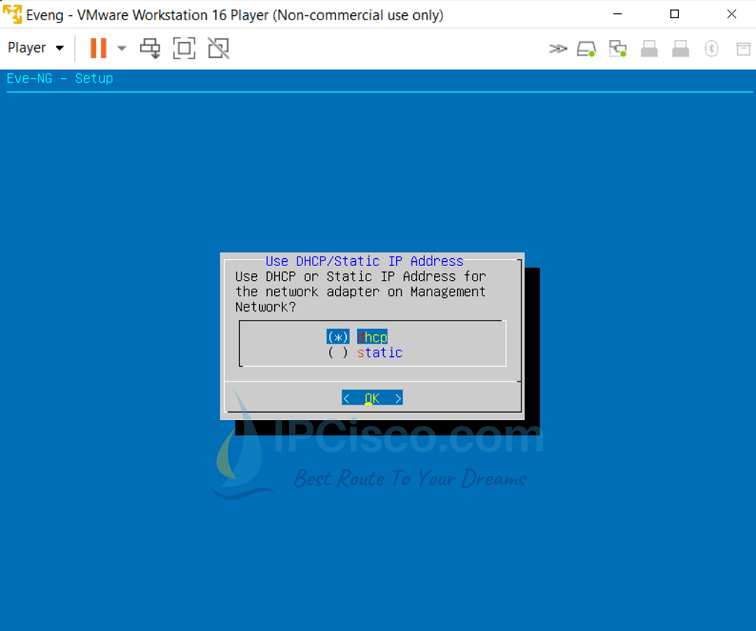
We will determine DHCP or static IP address usage. You can select DHCP like me.
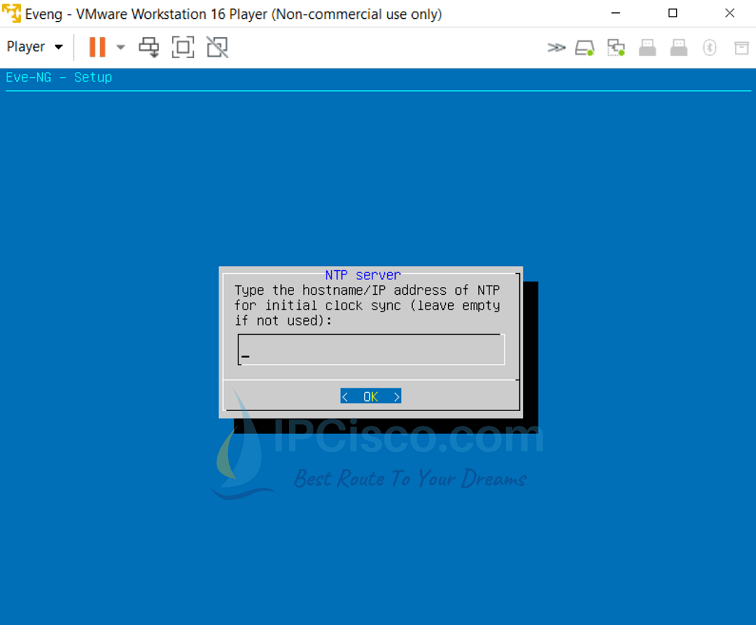
Next, NTP Server will be set. Here, I will leave here empty. You can also leave here empty.
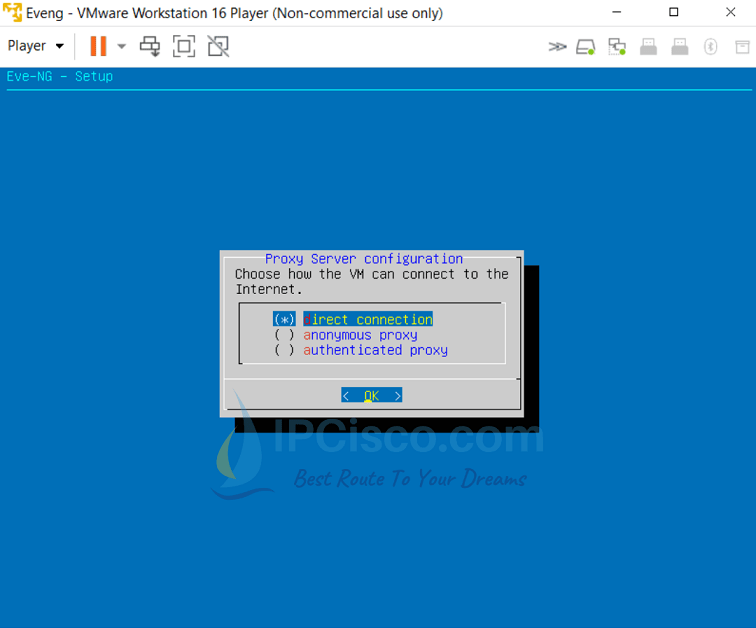
In the next screen, we will select direct connection.
After this screen, system will route us to login again with the previous credentials.
Username: root
Password: eve

After login, you will see an IP address at the top left of the screen like below.
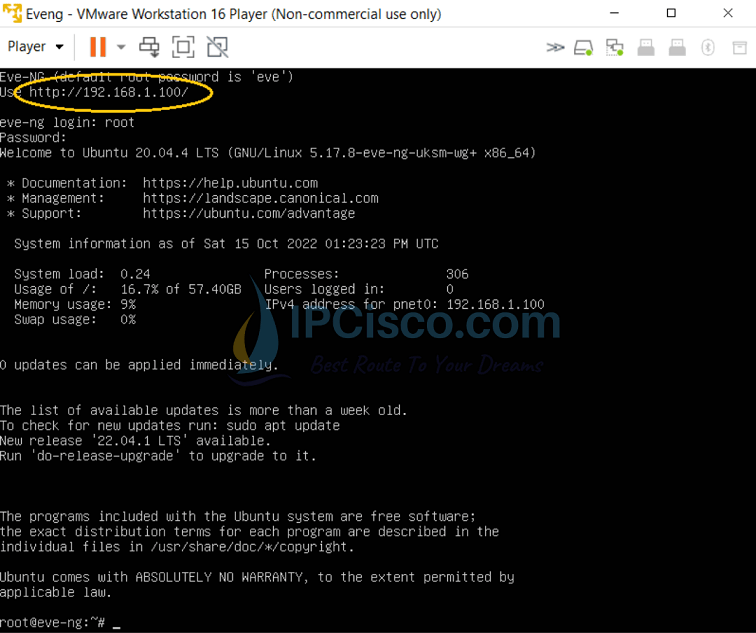
You will use this IP address on your browser to access EVE-NG system.
![]()
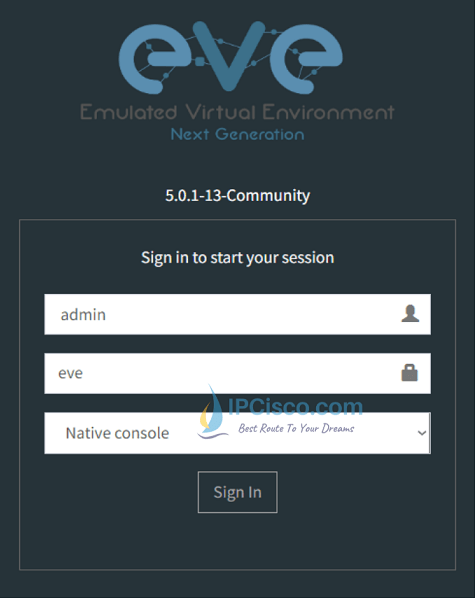
After entering this IP address to your browser, EVE-NG program will be started. And here, there is another login screen in which you will use different credentials (Here, only username is different).
Username: admin
Password: eve
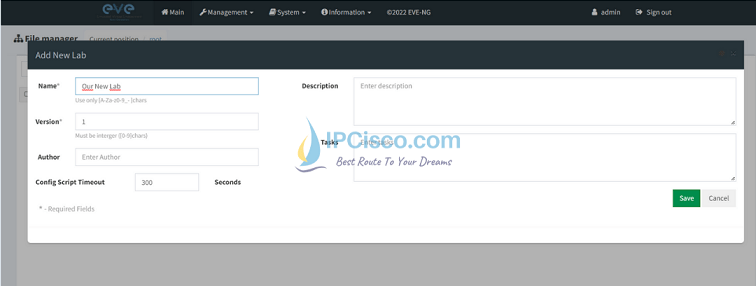
After login with these credentials, EVE-NG will be opened. And at the left side of the screen, you can create a new lab with paper sign as you can see below.
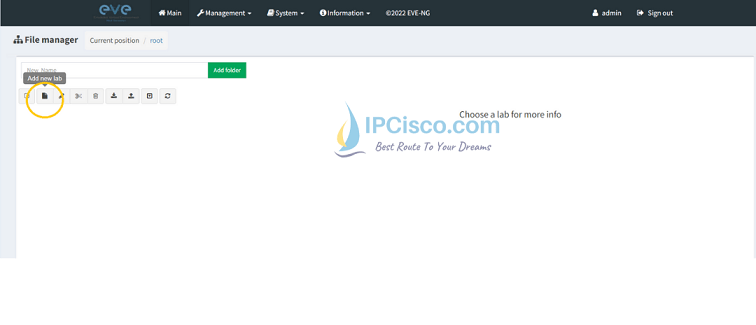
After clicking this sign, you can name your lab. Here, I wrote Our New Lab.
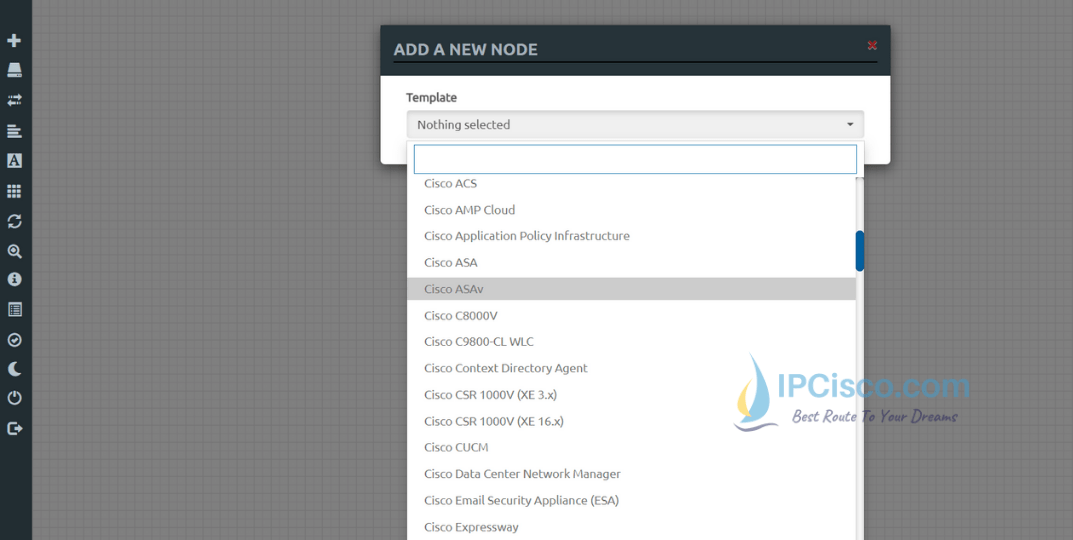
After this lab, our lab platform is opened. We can add different network equipment to our lab and start to configure them.
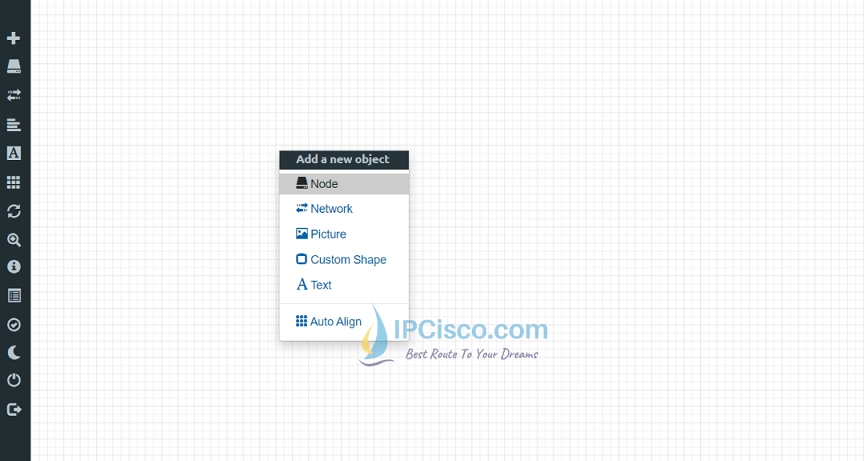
But before this, we should add different device’s images to EVE-NG. Without any images, we can see the device names but we can not add any of them to our lab.
Last Word
We have completed EVE-NG Download and EVE-NG Installation to VMWare Workstation Player. You can use this amazing platform to create your network labs for Cisco CCNA, CCNP, CCIE or for Huawei HCIA, HCIP, HCIE, Juniper Certifications or Nokia SRA Certification studies But, before creating EVE-NG Labs, we should import network device images to the platform. Now, let’s do this and learn how to import image files to EVE-NG platform.
You can also check VMware Download and VMware Installation guide.

Gokhan Kosem is a Network Engineer, Instructor and the Founder of IPCisco.com with 15+ years of experience in Cisco, Nokia, Huawei, Juniper, Linux, Service Provider Networks, Routing and Switching technologies.
He has worked on the backbone networks of major service providers and network vendors including Nortel, Alcatel-Lucent (Nokia) and has extensive hands-on experience with Cisco, Huawei, Juniper and Nokia networking technologies.
He has trained thousands of networking students worldwide through IPCisco.com, Udemy, books, labs, quizzes, and educational content across multiple social media platforms.
IPCisco.com | Best Route to Your Dreams


Excellent site. Very much useful
Always welcome Vishnu:) Good luck!
Good stuff, however, there are no links to
“how to import image files to EVE-NG” or it is not ready yet ?
Thanks
need the link how to import image files to EVE-NG”
Hi Paulin. You can check related article here.
Muito boa Aula adorei
Muito obrigado. Boa sorte!